Lesson: Artists in Archeology
Suggested Grade Level: Middle 5-8
Source Reference: Leah Krueger's lesson The Things We Treasure featured School Arts Magazine: May 2022 Social-Emotional Learning issue.
Learning Objectives
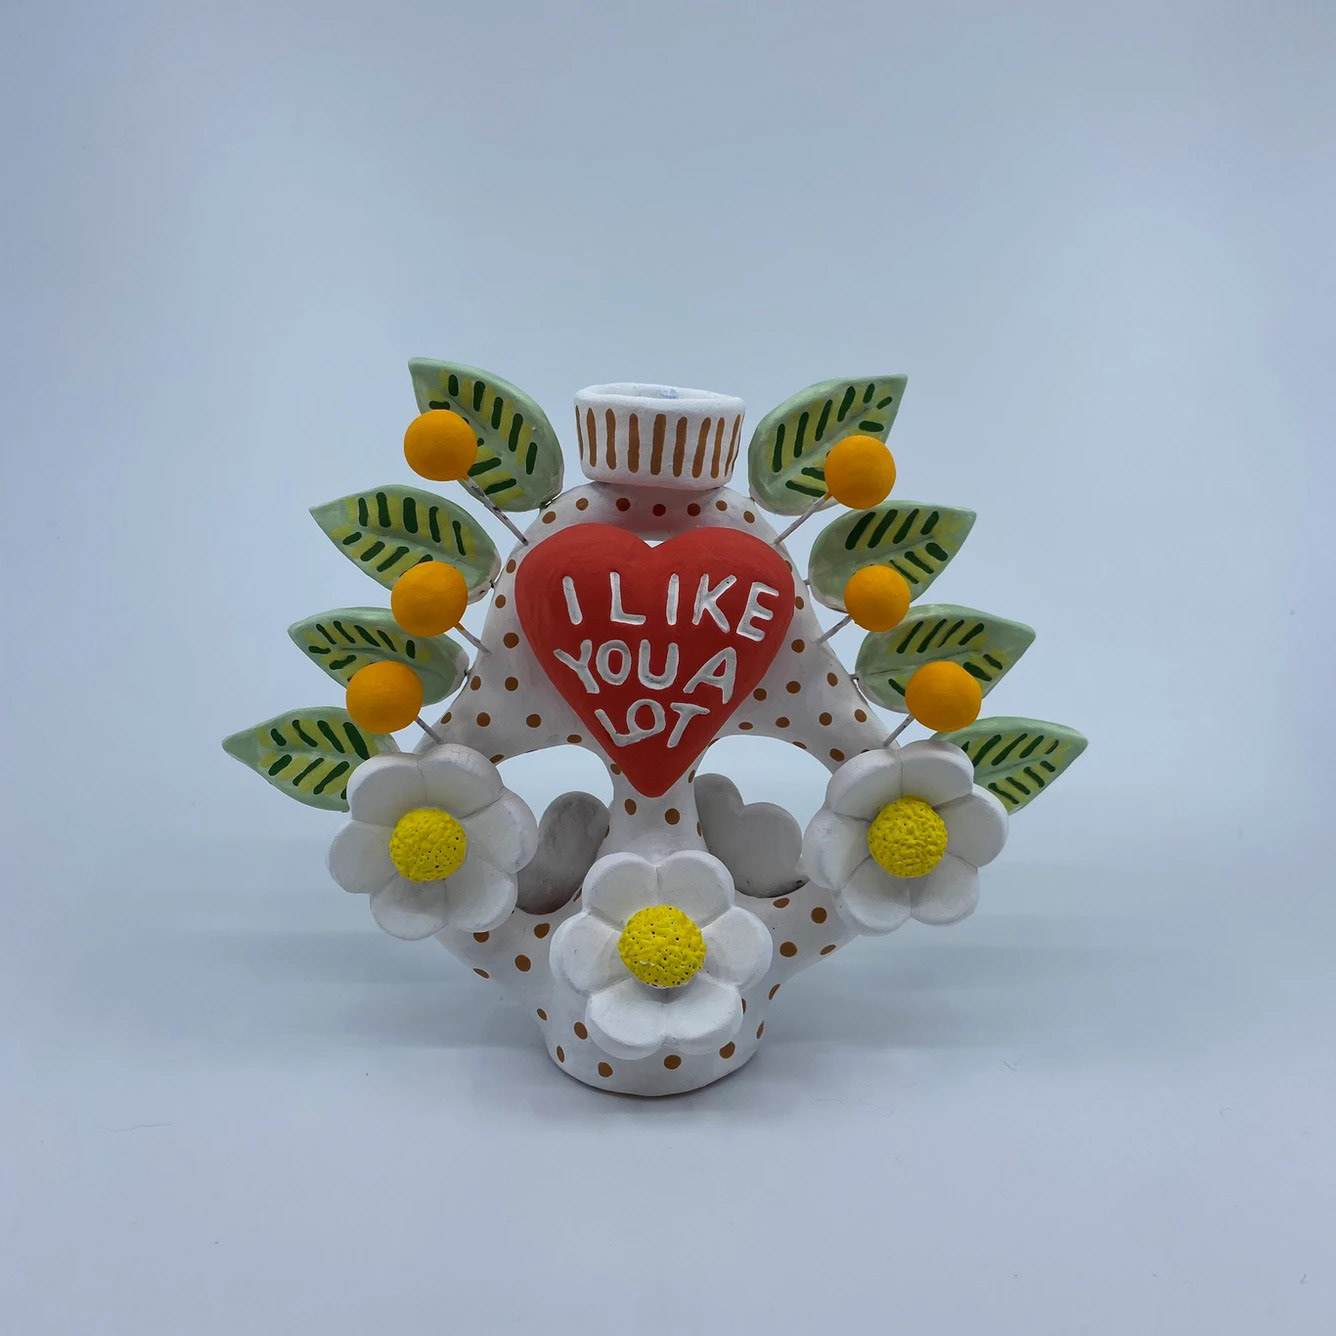
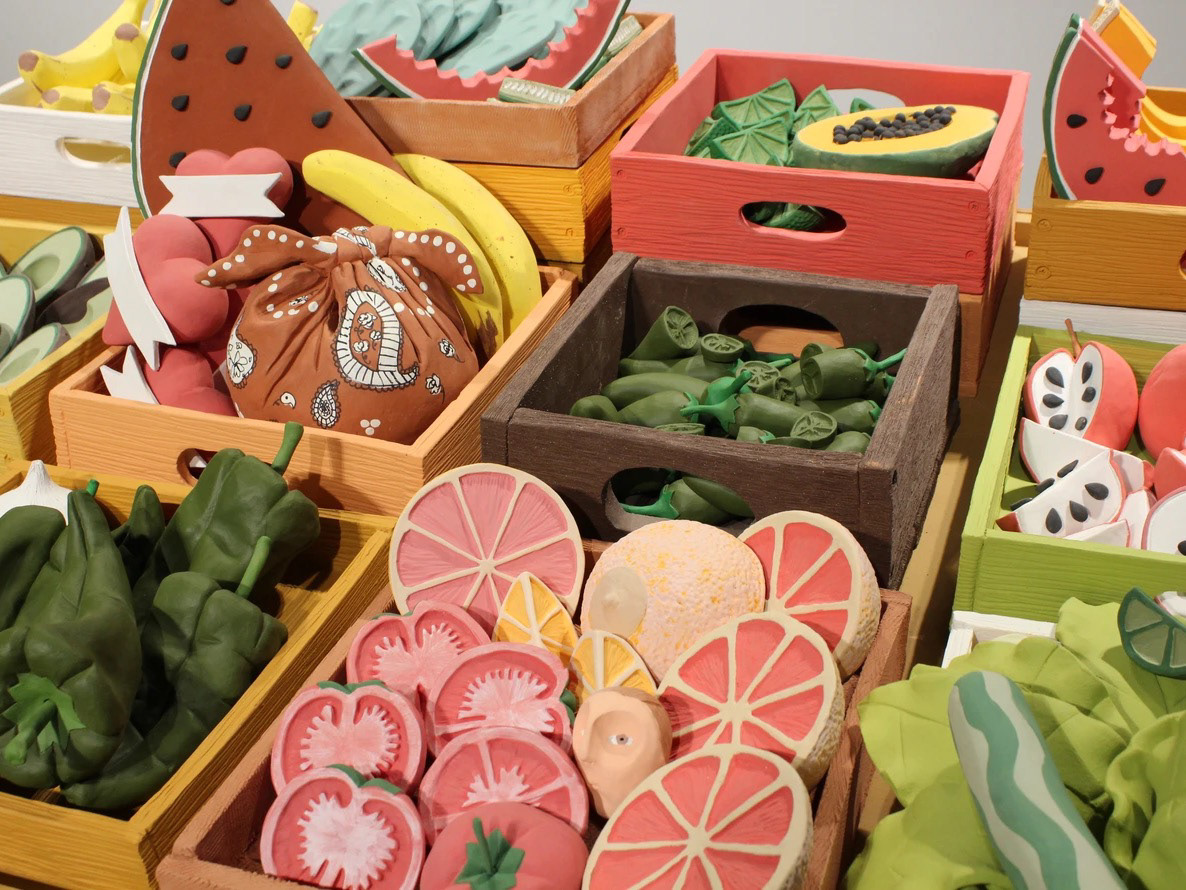
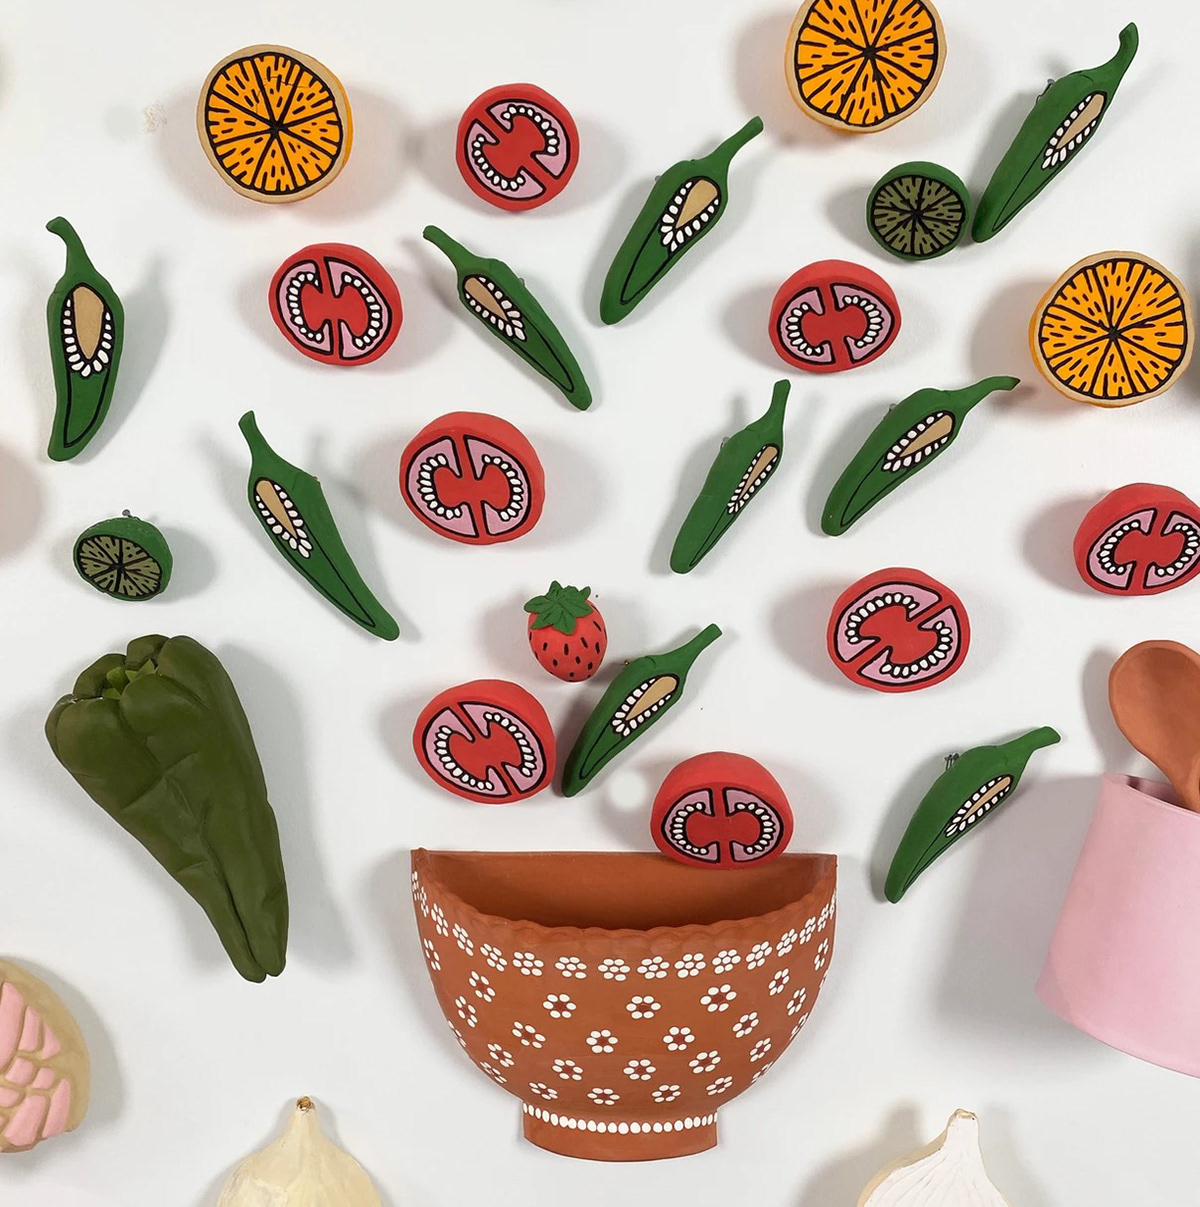
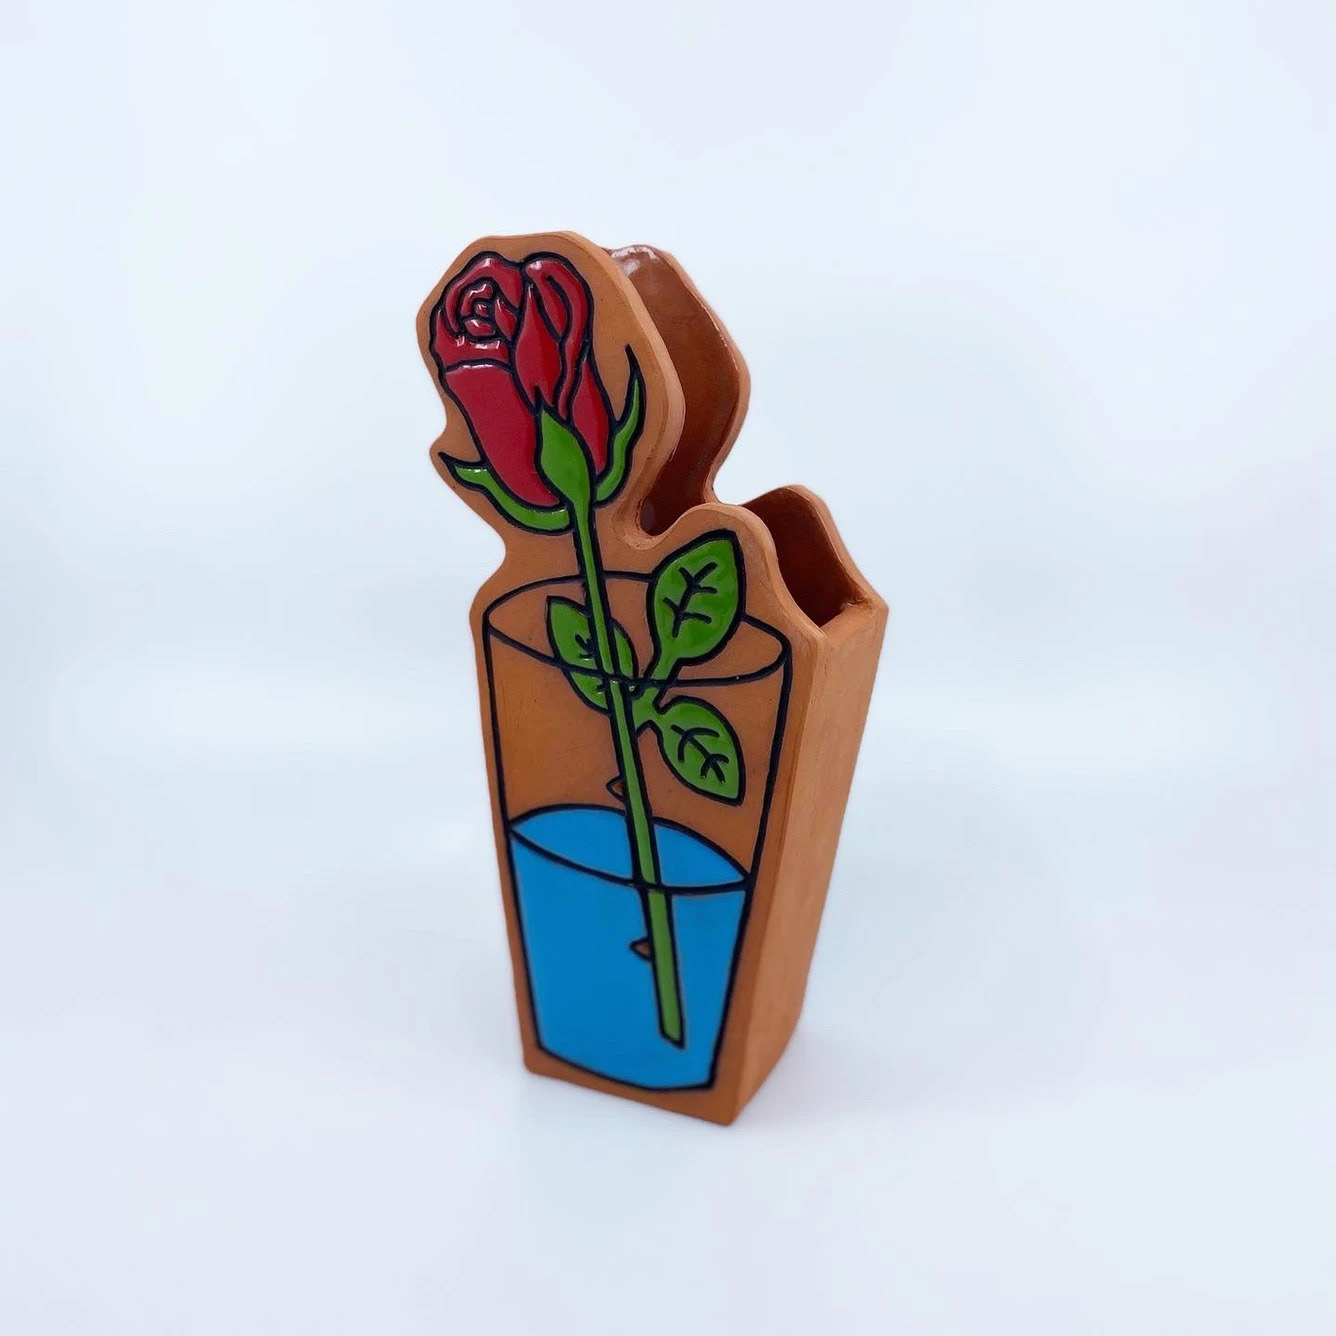
Responding to Art: After looking at artists like Christina Margarita Erives (who explore the idea of permanence, personal memory & history) students will explore documenting their own personal memories and ‘treasures’ in ceramic.
Developing Works of Art/Design: Students will use clay techniques to create a vessel that will contain physical representations of their treasures in the form of shrink film.
Relating Art to Context: Students will develop a narrative reflection based on their treasure box. They will describe what they keep in their box and why they want it to be preserved like a time capsule for archeologists someday. Students will also explain how their aesthetic/decorative choices relate to the items they chose.
Overview
Part One: Artist & Project Introduction
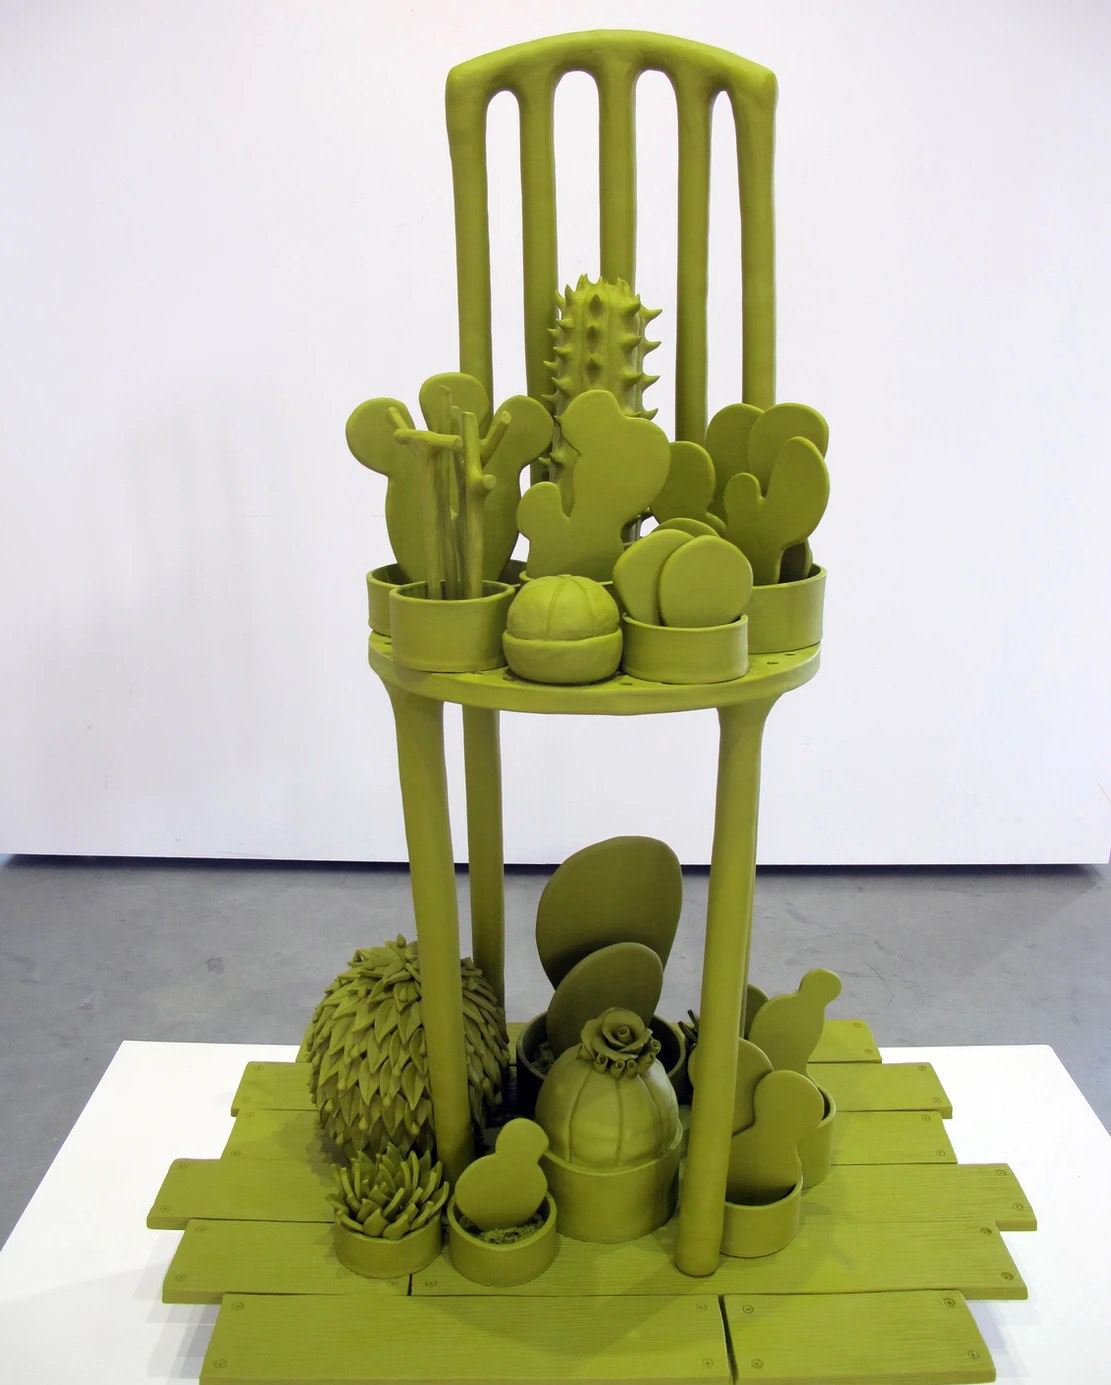
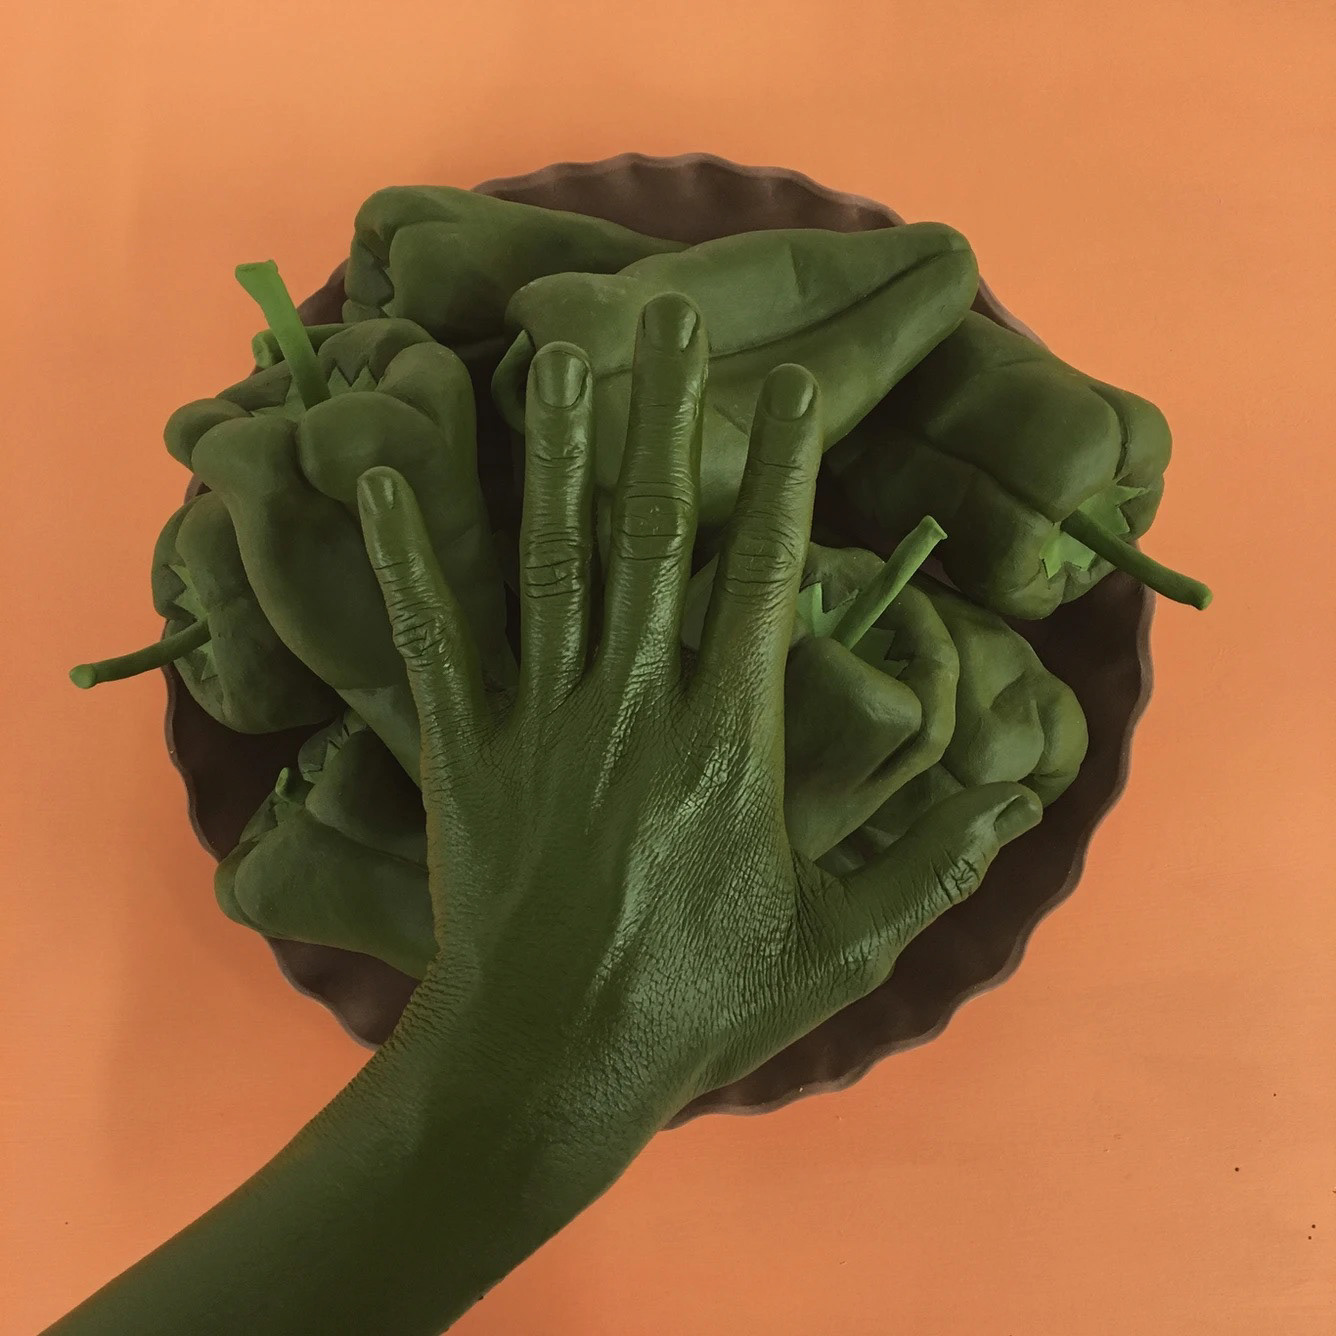
Christina Margarita Erives is a BIPOC Ceramicist living in California. Her work explores ceramics as a material that has permanence, and a vessel with which we were able to learn about ancient cultures. She sees that beauty in the traditions and processes of ceramics and aims to make a mark of her time that will be preserved in the history of ceramic objects.
Ceramic studies have played a central role in the development of archaeology. Ceramic materials survive in the ground when objects made from other materials do not, and their archaeological value is very high even though they generally only survive in fragments. The largest class of artifacts recovered during excavations of historical sites are ceramics.
In this project, we will become both an archeologist, studying pottery, and an artist or crafts person, making a mark of our time like Christina Margarita Erives by producing our own ceramic pieces.
In this section, the class participates in a quick research session. Each student is provided a worksheet template to use in their sketch book and fill out as we gather information.
Left: Blank Template, Right: Complete Example
This worksheet template is a scaffolding/learning support to help guide students in responding to works of art as well as artists.
Students are tasked with documenting information they learn about the artist, her artwork, and processes in the first section. In the second section, the class (split into smaller groups or tables) is given small printed examples of Erives' work. Each student will pick their favorite piece and describe what they see. This can include any observation, and they are encouraged to practice using what they know about the elements and principles of art. Students should also explain why they choose their specific piece — why do they like it? How do they relate to this work?
Part Two: Sketching and Ideation
After researching and exploring the art of Christina Margarita Erives students will be asked to use their knowledge and understanding to build the concept of permanence in ceramics. Using examples of Erives' work students will think about the different types of containers that exist. What can be used to hold pencils? Matches? Tools? or in this case our most valuable treasures.
In this section, students will develop a list of things that they treasure the most and visualize them into thumbnail images.
Top: Thumbnail Exercise Template, Bottom: Complete Example
This worksheet template is a scaffolding/learning support to help students relate their art to
context.
context.
Students begin the worksheet by listing items they treasure this may include material items such as toys, video games, or physical collections, BUT they should also think of things they treasure like people, memories, or important places. Using the pre-made thumbnail template and examples of Erives' smaller ceramic projects (pictured below) students will visualize their lists into small but easy-to-read symbols. When students are finished with their thumbnails they can begin sketching ideas for their clay container.
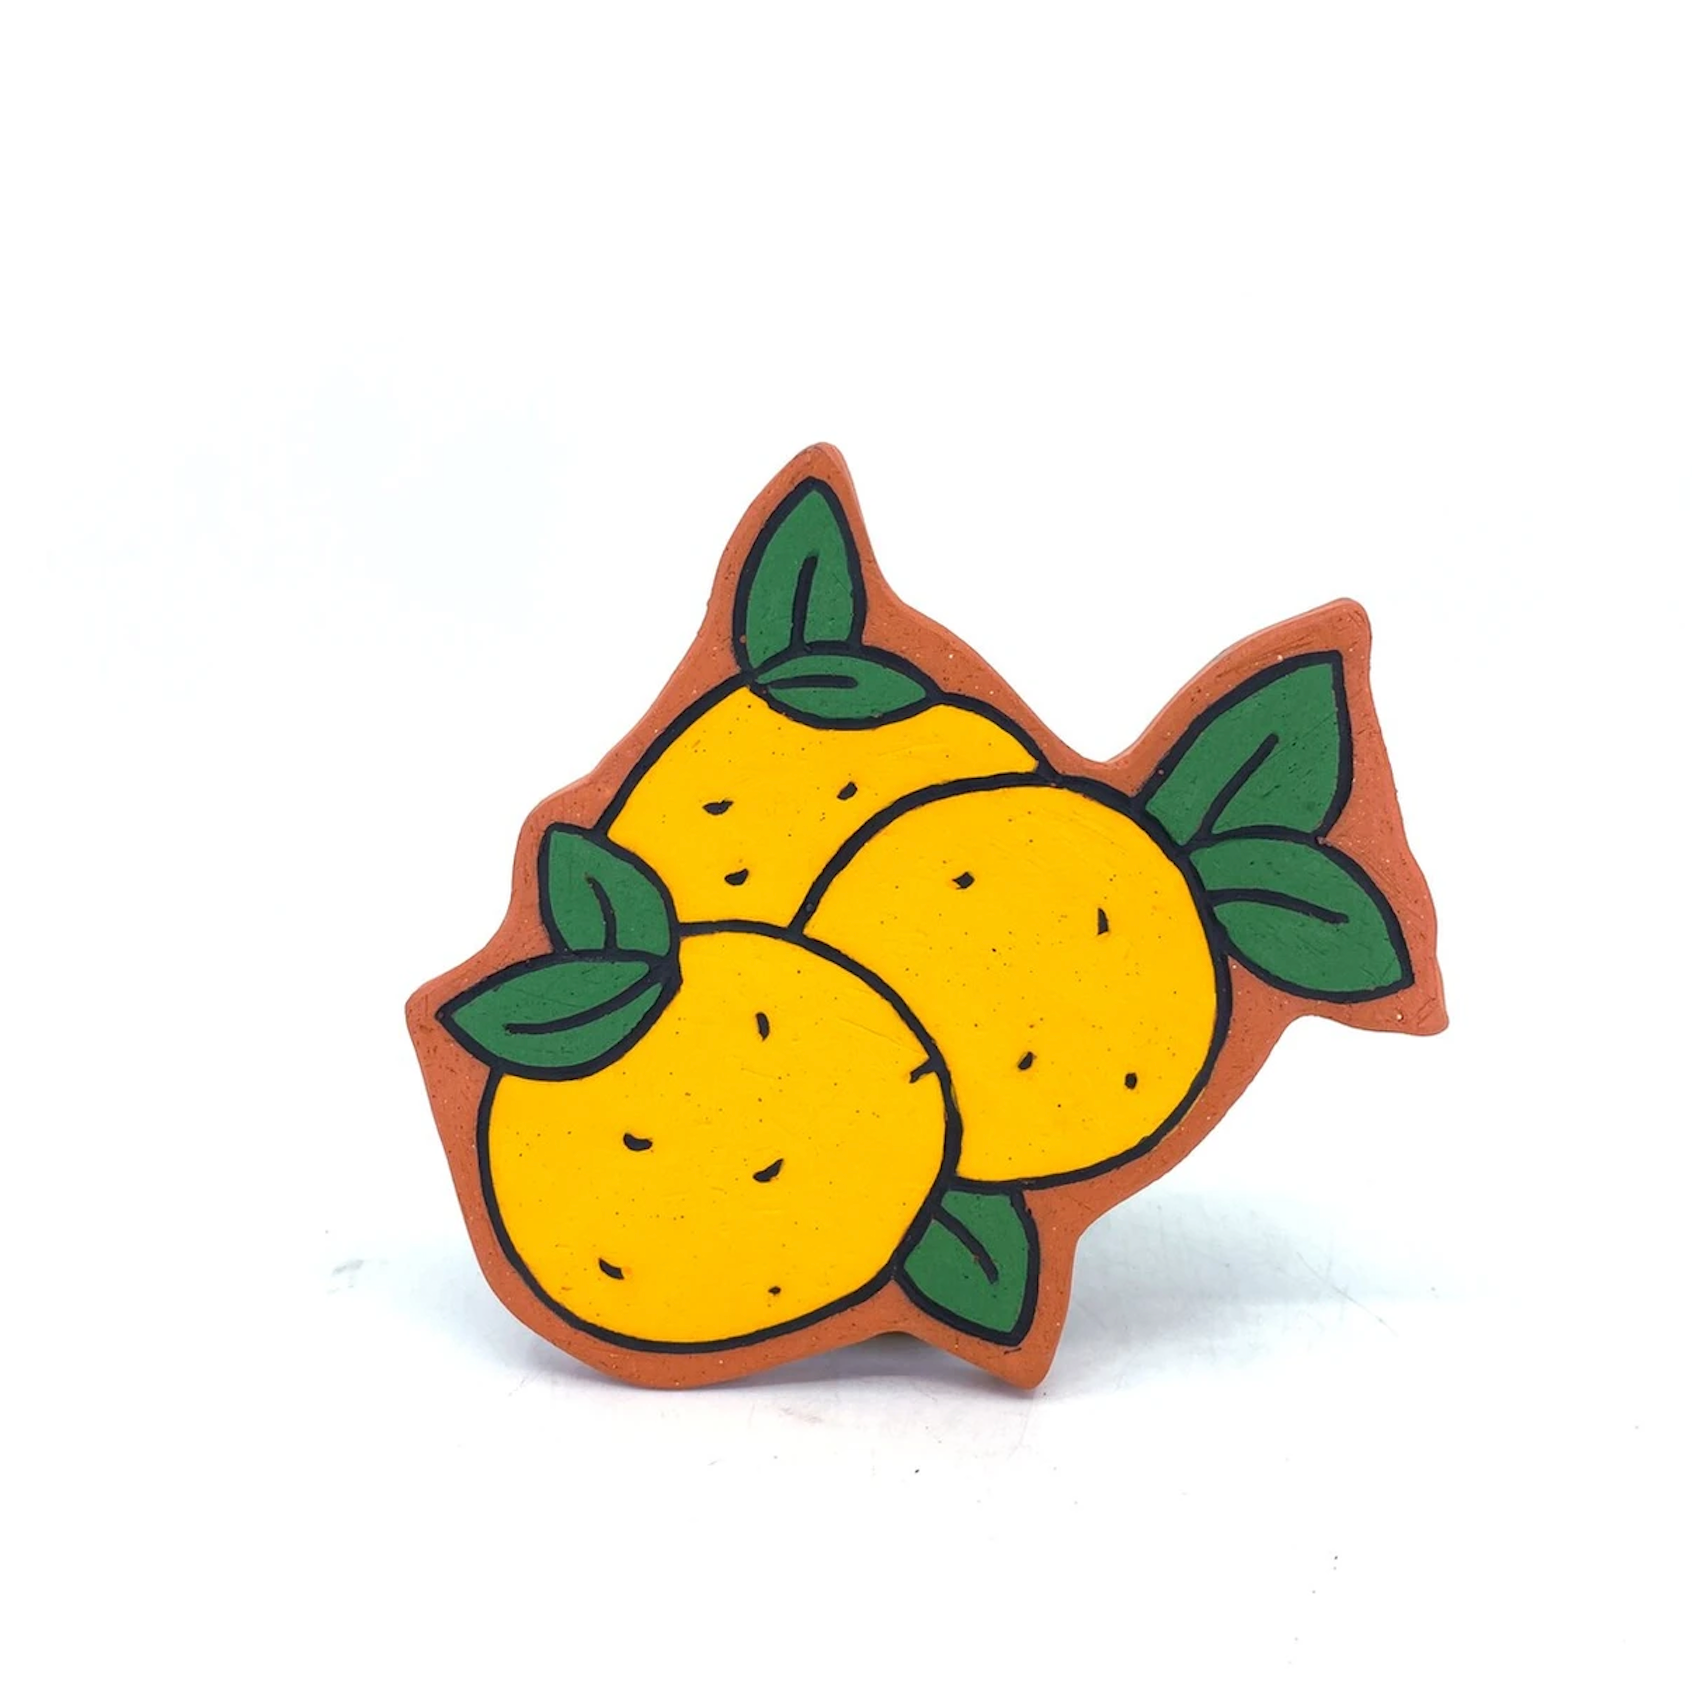
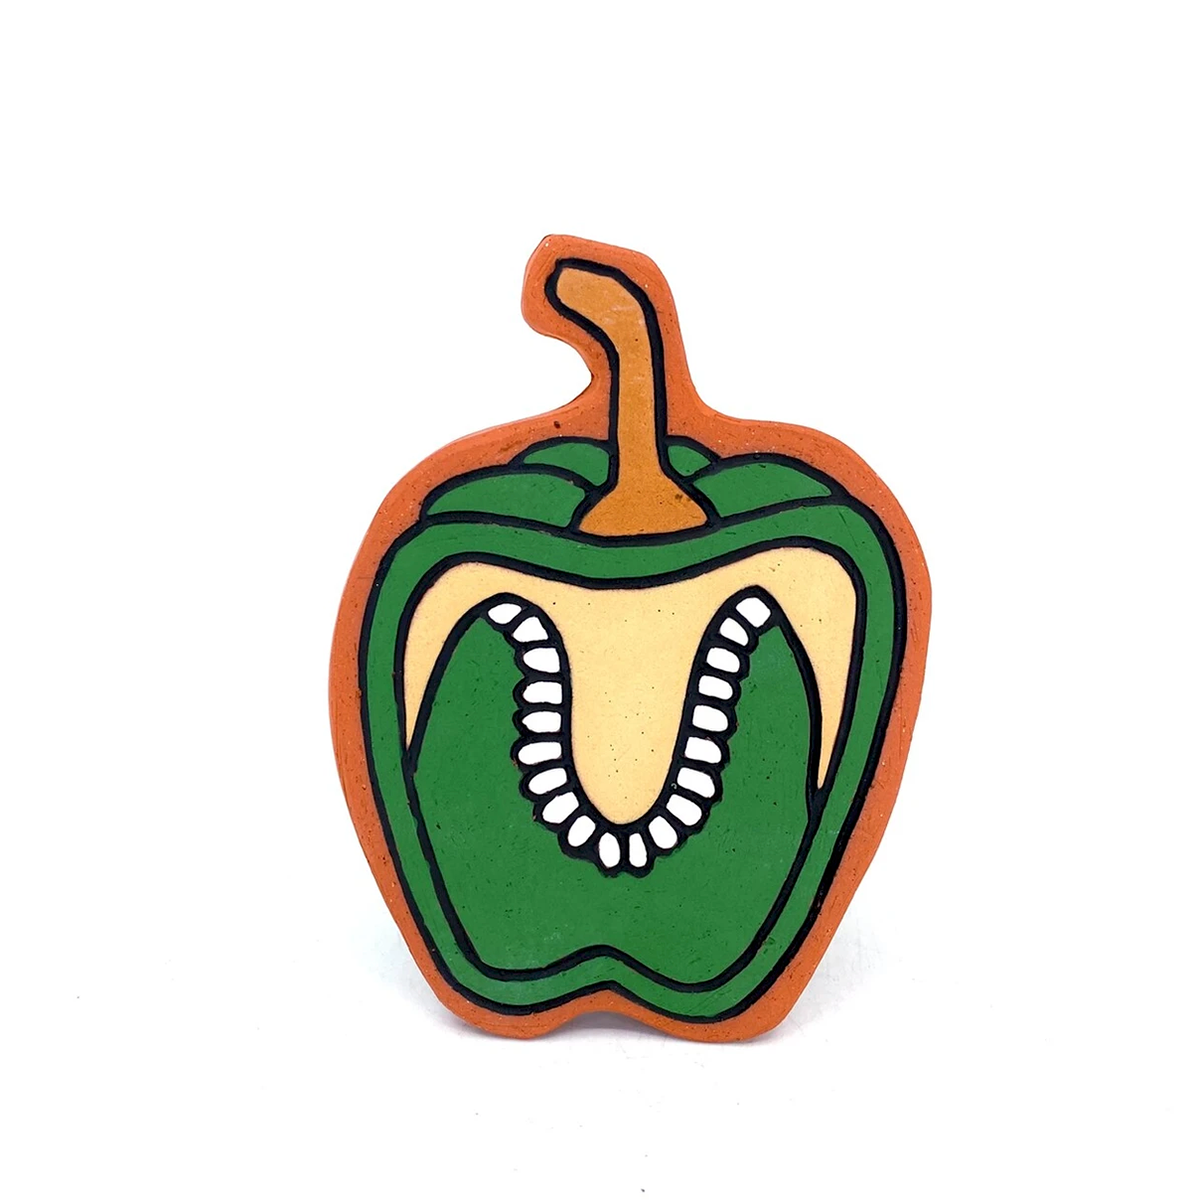
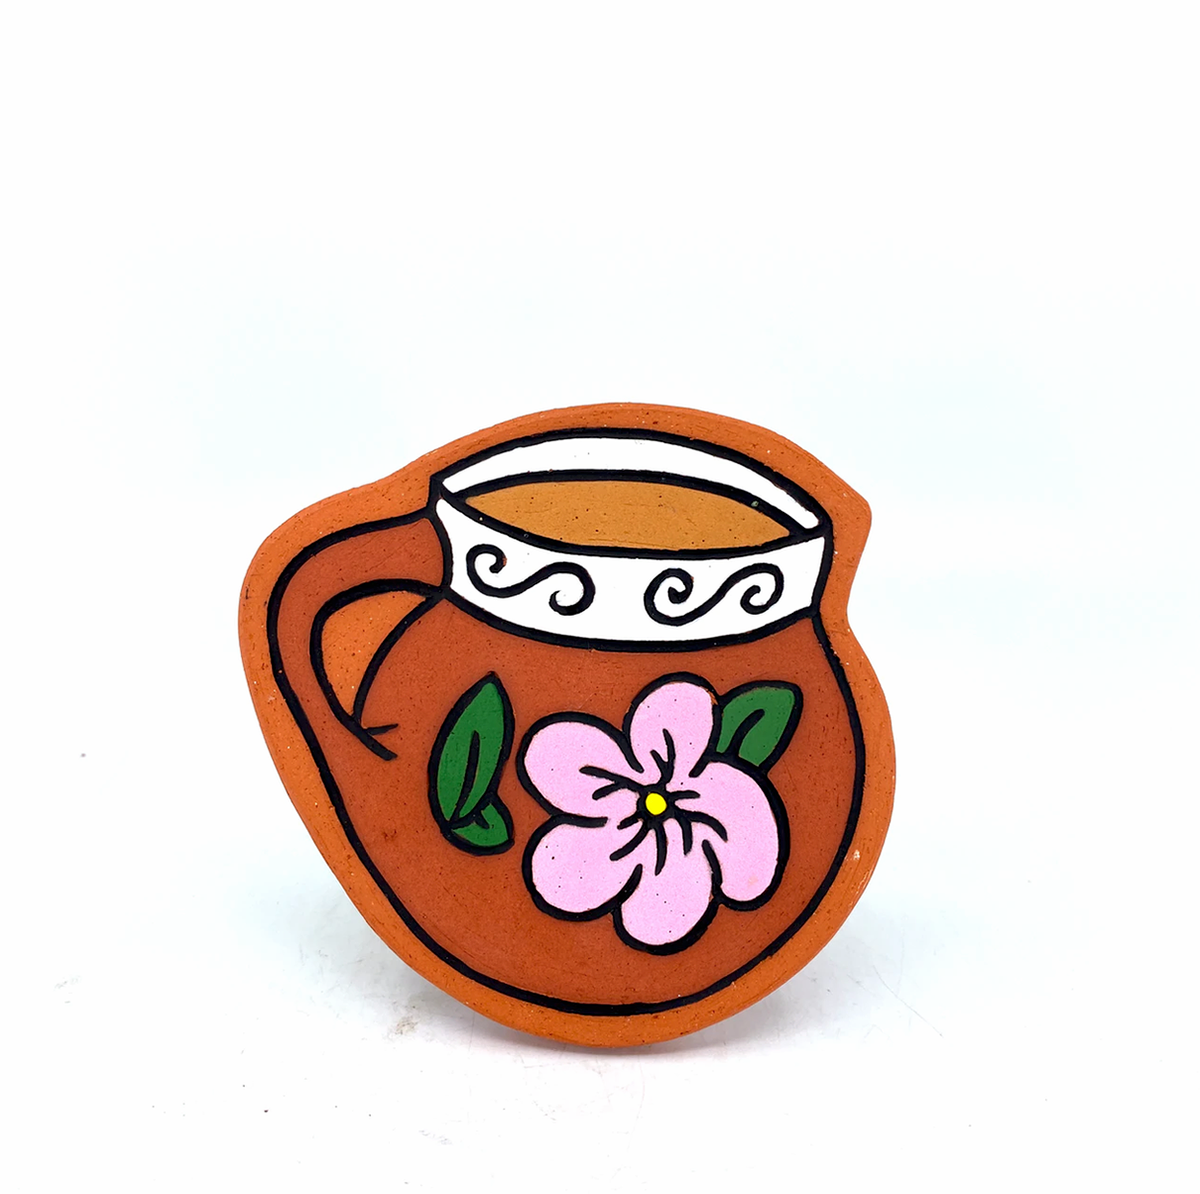
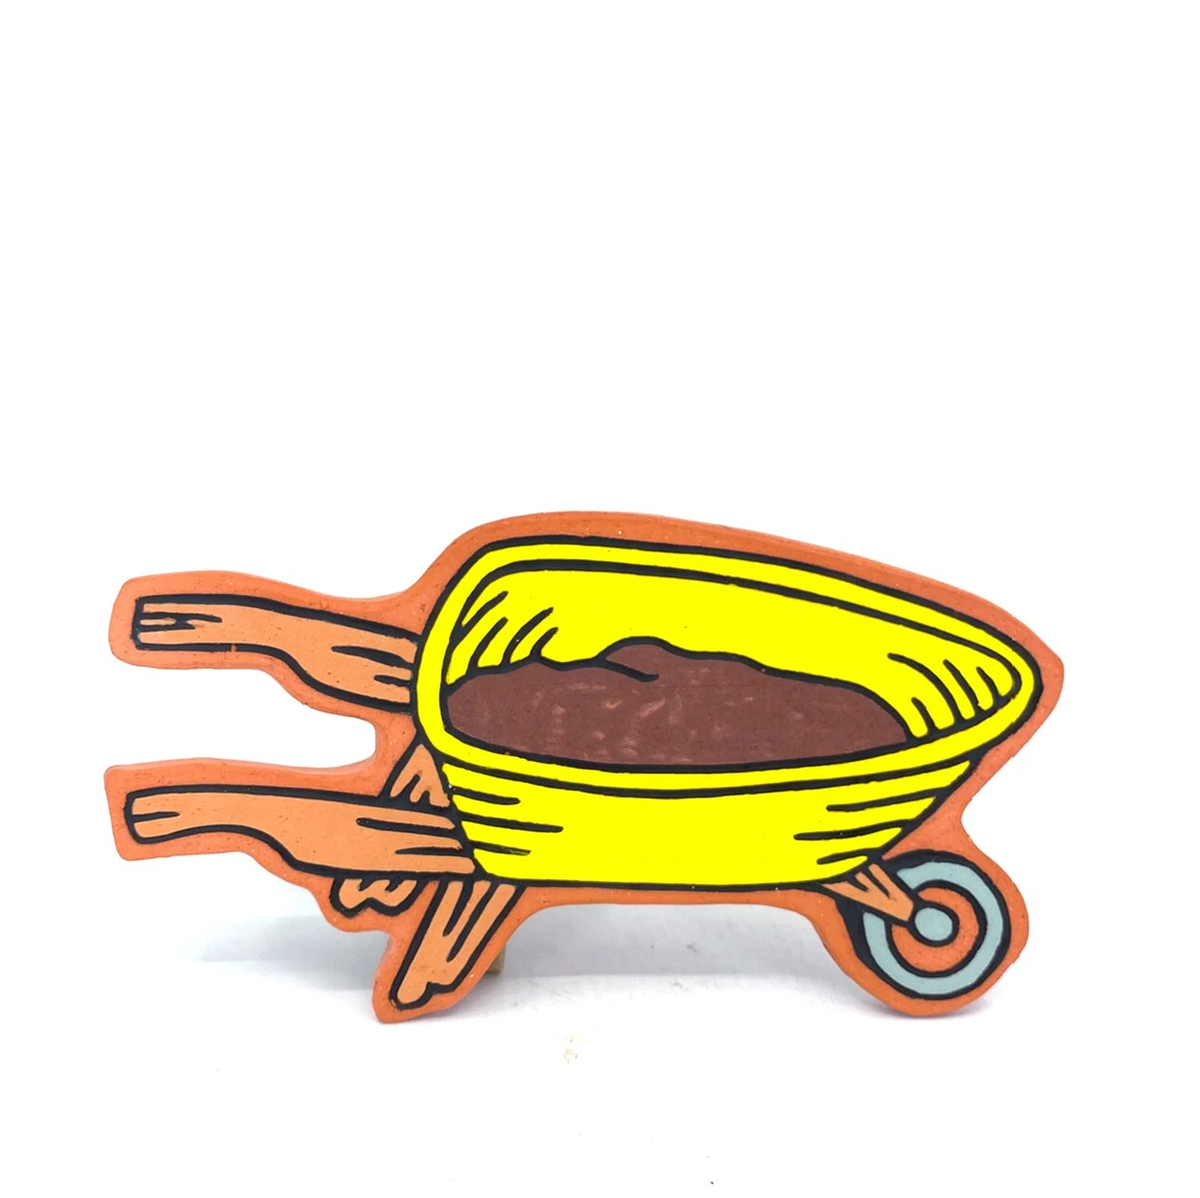
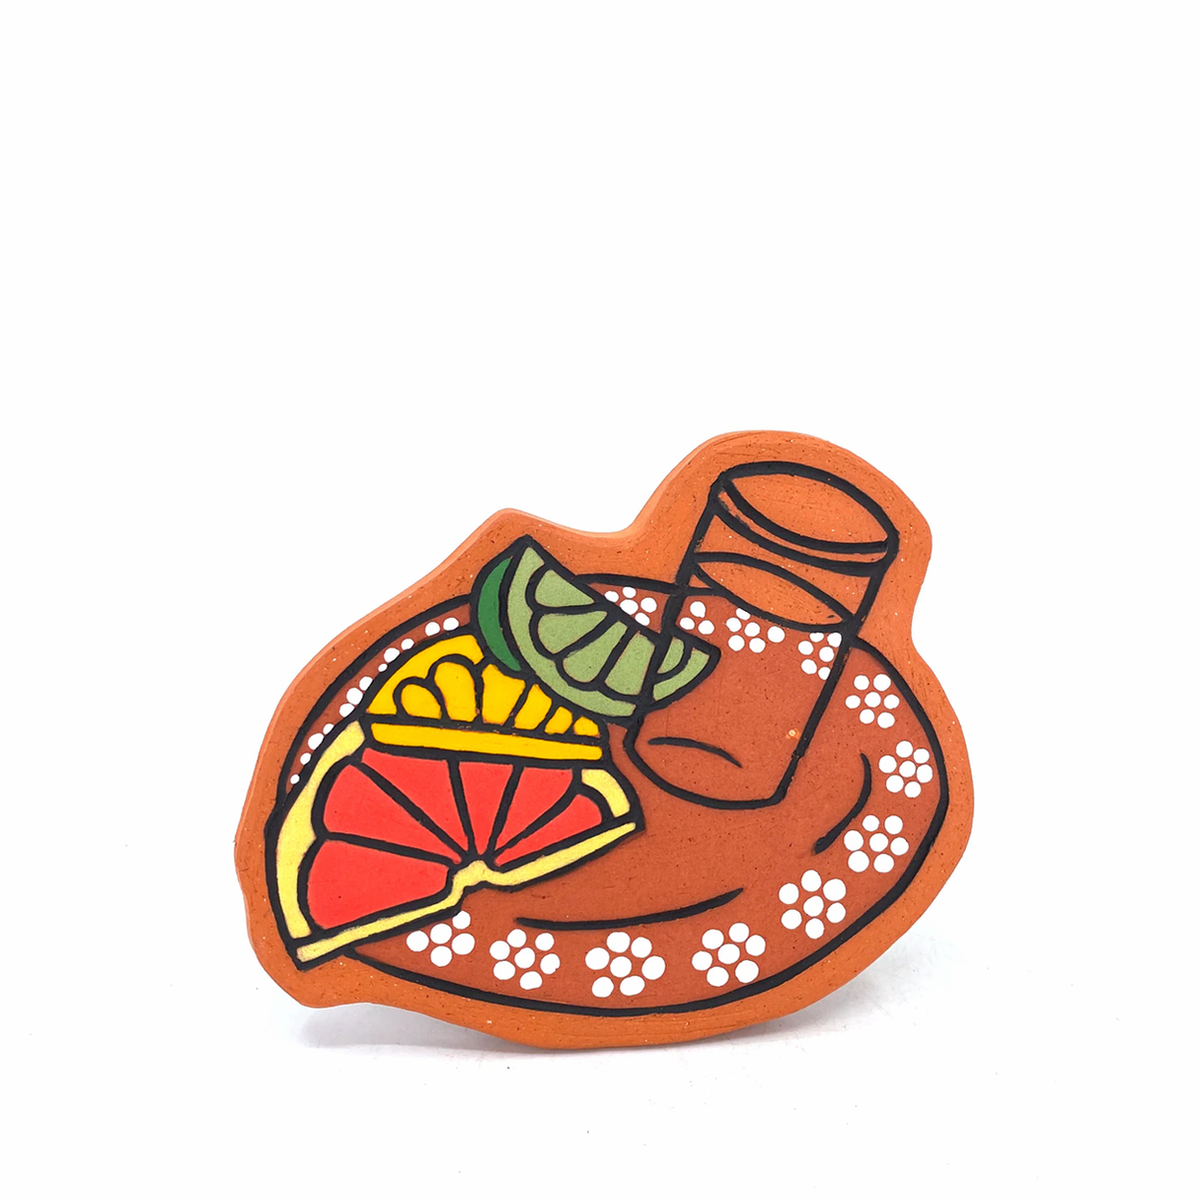
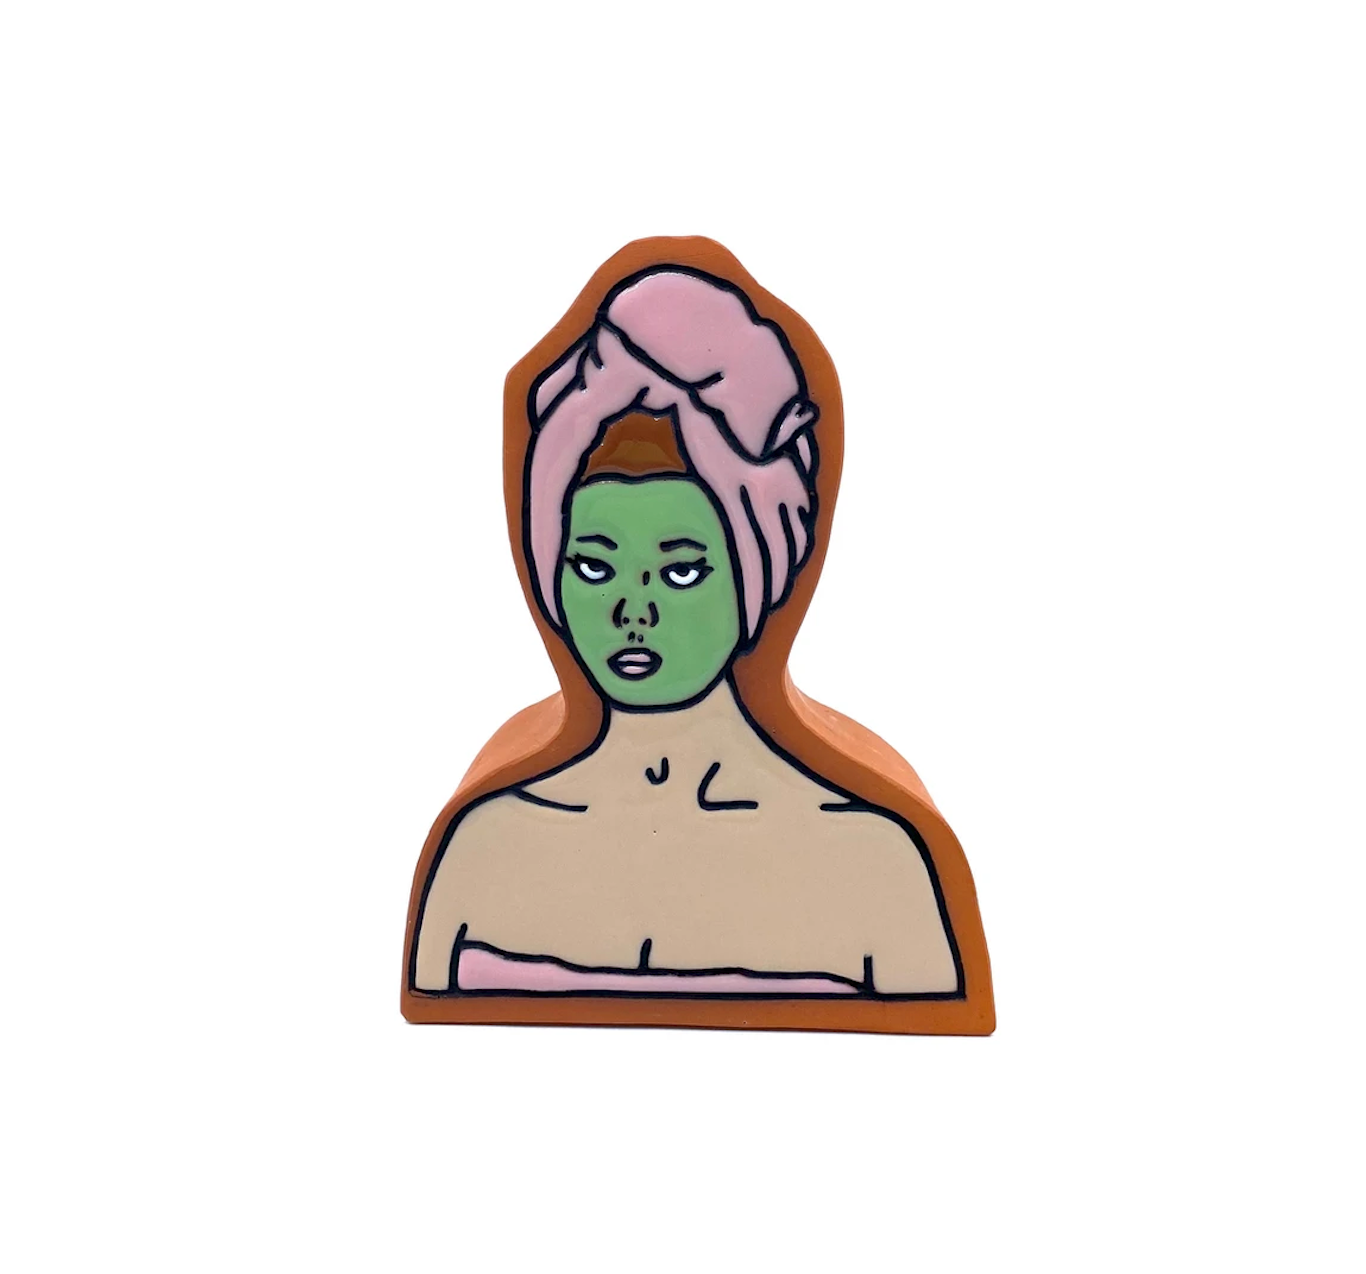
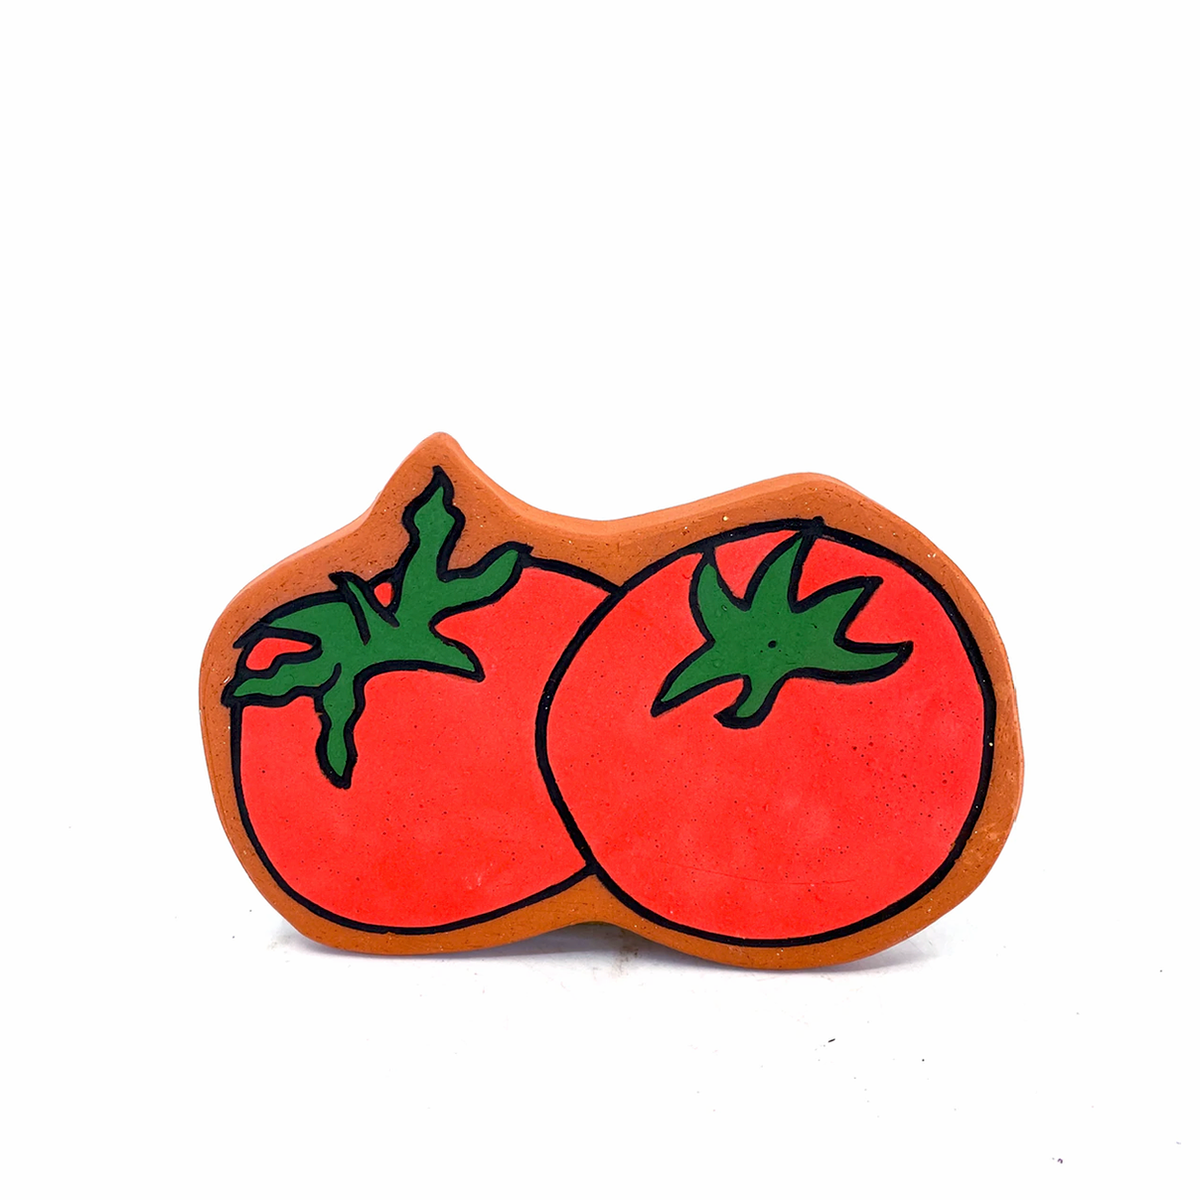
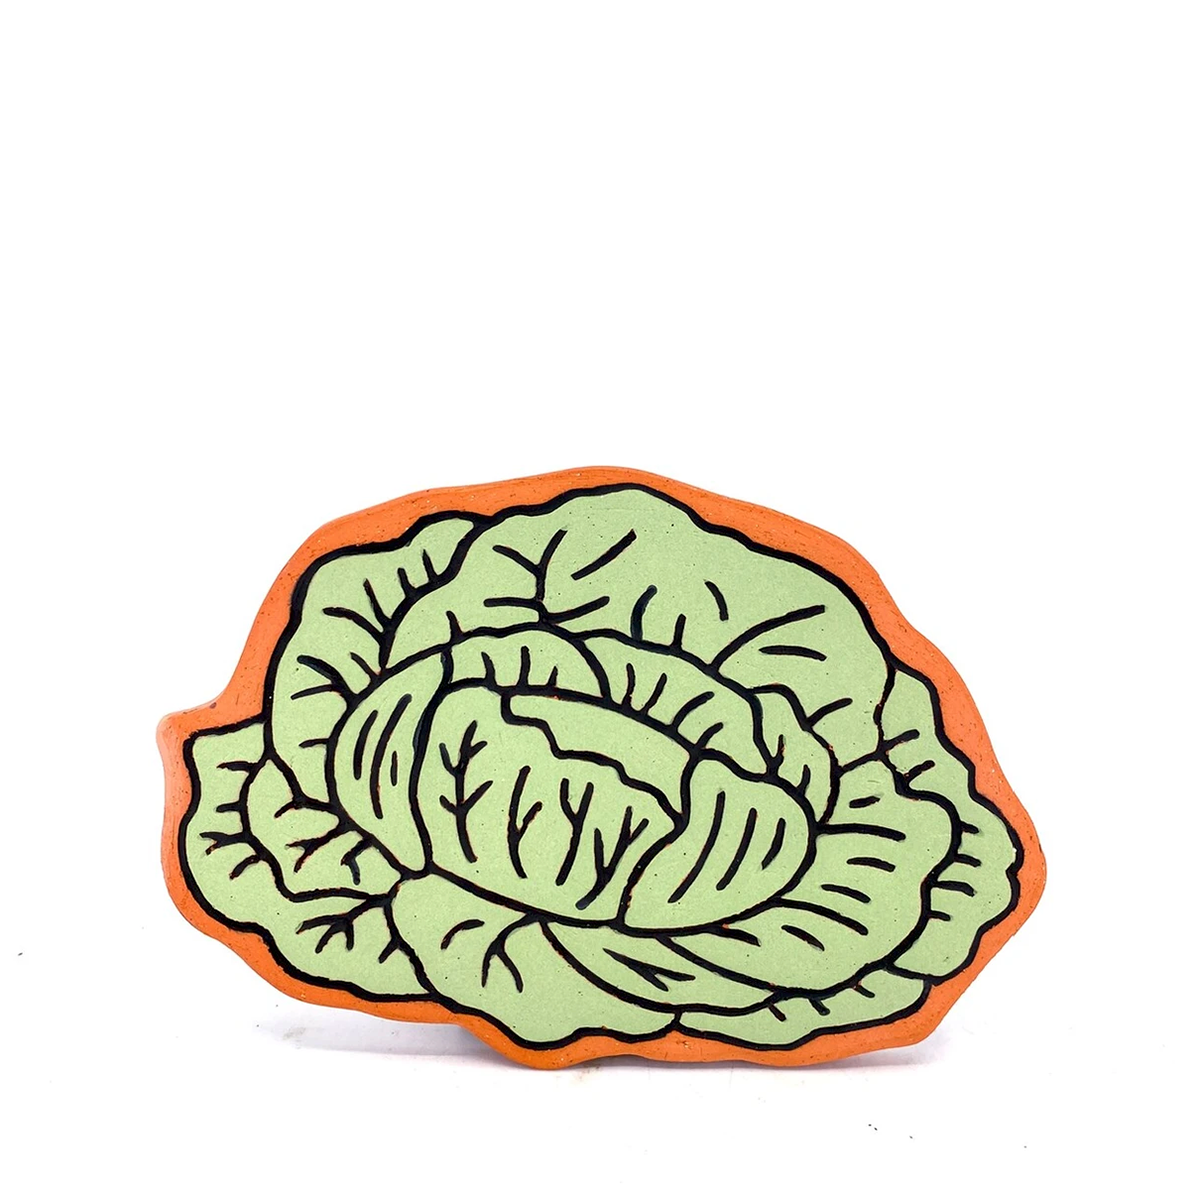
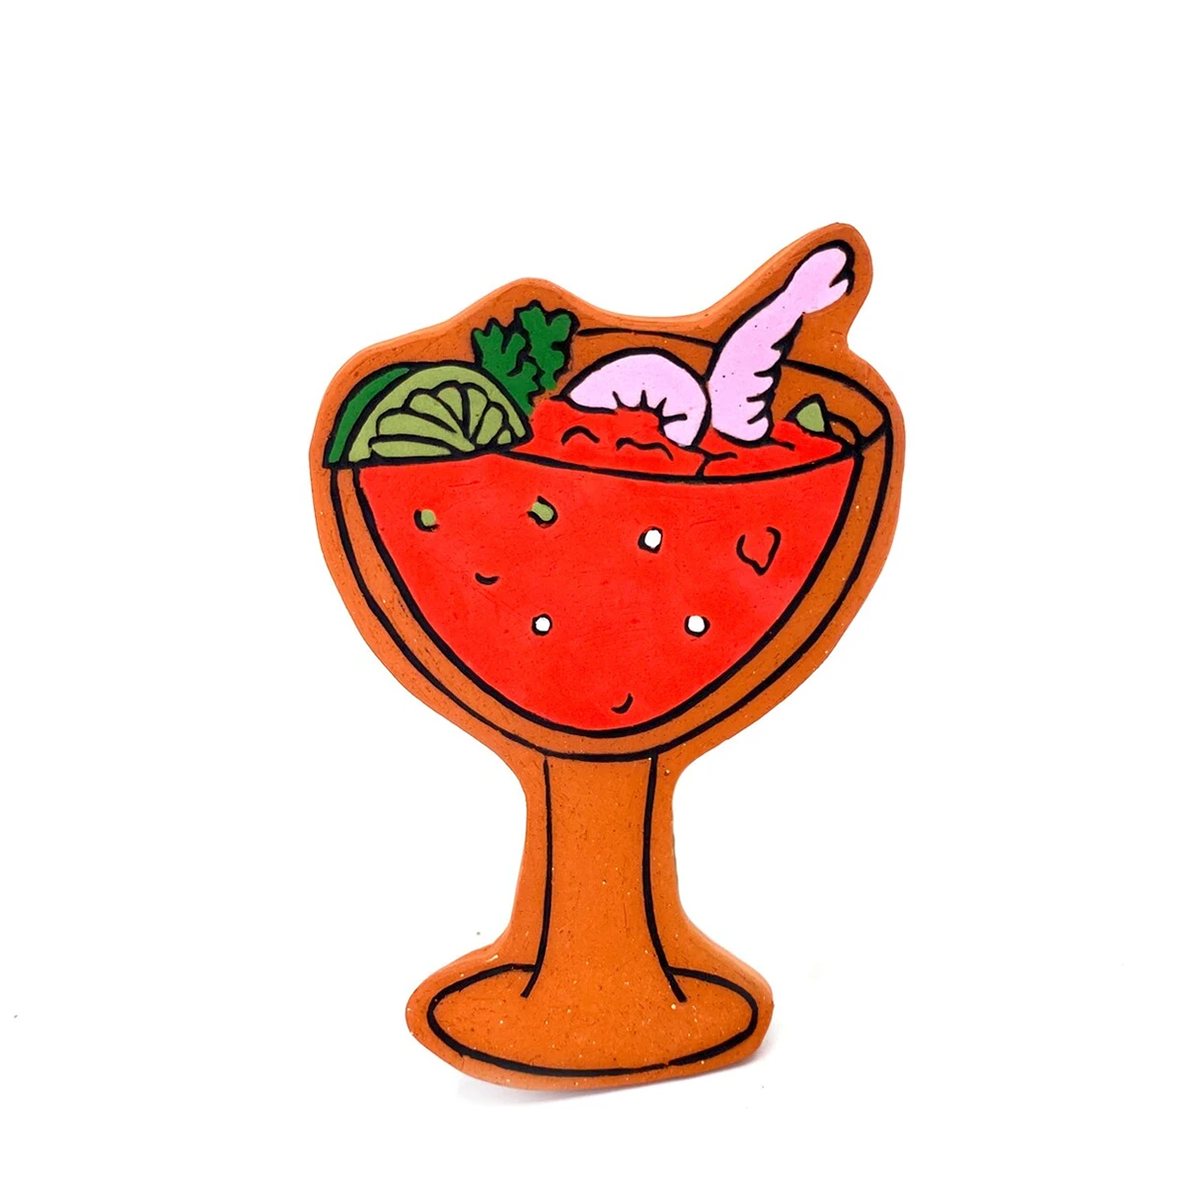
Christina Margarita Erives' examples
Part Three: Ceramic Box
In this section, students begin constructing the ceramic box that will hold their treasures.
First students will finish designing their clay box. The outside of the box should have a theme or symbols that match what will be kept inside of it. Then they will construct a paper template for the top and bottom of their box. To make the template for the top students draw the same shape, but 1⁄4’’ bigger on each side.
After students have finished designing they will be taught hand-building basics (slab-building & additive/subtractive techniques). There are personal handouts for students to put in their sketchbooks that label and describe the most common tools that will be used.
This handout is a scaffolding/learning support to help students develop works of art.
The paper templates made earlier will be used to cut an accurate top and bottom piece from a slab of clay. Students will use one long rectangle of clay for the sides. As they wrap the slab around the bottom piece, they should score each corner with the needle tool and blend the seams.
A video demonstration is shared below;
This video is a scaffolding/learning support to help students develop works of art.
Part Four: Shrink Film Treasure
In this section, students will begin to create shrink film treasure inspired by their thumbnail ideation inspired by Erives' work, while their clay boxes dry and bisque fire.
Students will select at least four images to recreate with the shrink film. They will translate the images from their sketches onto shrink paper, color them with markers and colored pencils, and then cut the images out.
These tiny treasures can be transformed into wearable jewelry or remain as trinkets.
Part Five: Glaze
Students will be given a glazing demonstration that teaches them how to properly apply glaze to their container.
The classroom will have examples displayed of finished pieces of glaze work so that students can visualize what their final work will look like.
Underglaze will be used to create detailed images on the surface of their boxes, and a clear dip glaze will be added at the end. Color samples will be attached to each jar of glaze so that students know what colors they are using.
Part Six: Artist Statement
To complete this project students will develop a narrative reflection that describes their container. What does it look like? What's inside?
They will explain why they want their chosen treasures to be preserved in time, and what archeologists might think if they unearthed those items. Students will also explain how their aesthetic/decorative choices regarding the construction of their container relate to their chosen treasures.
Adaptations:
Clay is already a difficult material to work with students who don't need adaptations, modifications, or assistive technologies. There is an assistive technology solutions list below, as well as a list of the most common modifications necessary for clay assignments.
Increased time to complete art assignments/or assessments: Since clay is a more complex/difficult-to-handle art-making material students who have physical/fine motor limitations may need more time to complete this project
Directions are given in an alternate format: Written & visual instruction accompany spoken instruction.
Students create parts of a clay project and direct a peer or adult to put pieces together: This may be necessary for students with physical/fine motor limitations.
Students use adaptive tools instead of hands to shape clay: The texture of clay can be uncomfortable for some students. It is also a relatively hard material and other tools may be needed to shape it.
